
- Artisan Tiles
- 0 likes
- 4647 views
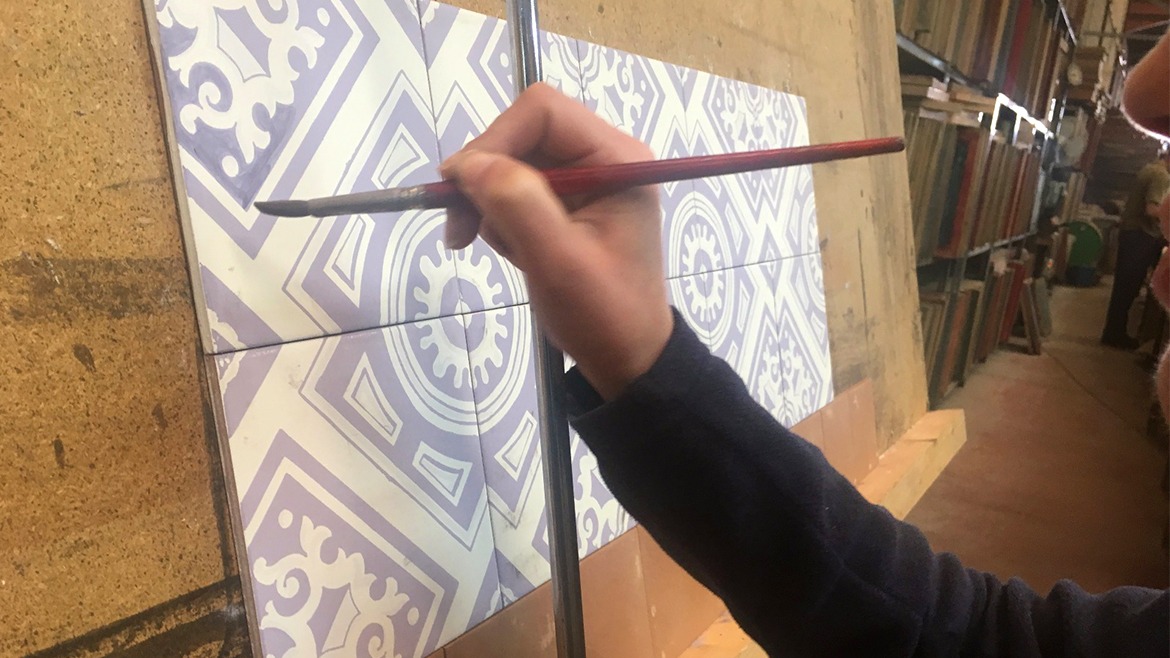
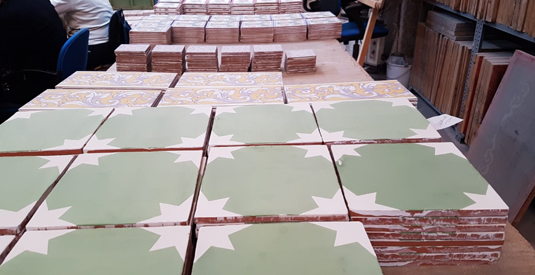
As you already know well, at Artesanía Sevilla we put at your disposal the best artisan tiles to decorate any space in your home.
We know that you have an exquisite palate, and that is why we put at your fingertips models and designs specially thought and created for you, so that you can place them where you like best.
Put the tiles in your bathroom yourself
Especially now, that the pandemic has made us have to be confined at home, it is a good time to get down to work and place the fantastic tiles that you have acquired in your bathroom.
If you haven't done it yet because you don't have much experience, don't worry, we're going to teach you how to do it step by step.
What do I need to put the bathroom tiles?
First of all, tiles as a decorative element are really exquisite. It gives a completely different look to the room. And for that reason, first of all, it is important to plan how we are going to do it.
The first step is to choose the tiles you are going to use , and then get to work.
The materials
These are the materials you will need:
- Tiles
- Rubber mallet
- Chisel and hammer
- Tile cutter
- Sandpaper
- Flat and notched trowel
- Level
- Measuring tape
- Gloves and goggles
- Glue cement, joint paste
- Plastic spacers
Let's do it!
Let's go there, let's see what steps to follow.
1. Take bathroom measurements:
First, Measure the bathroom well to know the total number of pieces you will need. Measure the height and width of all the walls and add it all together. Then subtract the height by the width of the door and / or window measurement if it has.
Then divide the result by what a tile measures, and what you get will be the number of tiles you will need. Add 10% to make up for any that need to be cut or if one breaks. And keep in mind that the ones that you have left over can be used to fix what breaks in the future. But they are exactly the same.
2. Remove the old tiles:
If you have old tiles, with the chisel and hammer remove them from the wall. To do this, tap on the ends until they fall off, and when they do, sand the wall to make it smooth and even.
3. Prepare the wall:
When the wall is sanded, leave it clean of impurities so that the new tile will stick better. It is also important that there is no mold or cracks before tiling. Dampen the wall sooner if it's hot, otherwise the cement could dry very quickly, and then make sure it's level with the bubble level.
How are you going to place them?
That is essential, be clear about how they will go on the wall to create effects in the room. If what you are looking for is spaciousness, it is best to place them horizontally or diagonally. And on the other hand, the larger the tile, the more spacious it will generate.